How to assemble an Armstrong ceiling – step-by-step instructions
Structurally, this system consists of the following components:
- Slabs – made of metal, glass, plaster, steel, polycarbonate, or wood. They can have a smooth or perforated surface, with standard dimensions of 60x60 cm or 60x120 cm. Their thickness ranges from 8-25 mm and they weigh 4-6 kg.
- Profiles – These are characterized by a T-shape, comprising a load-bearing and cross-section profile. They can be made of lightweight aluminum or plastic and are available in a variety of colors. They can be cut to size.
- Hangers – The slab fastening elements, consisting of rods and hooks, allow for adjustable hanging height.
Additional elements – profile connectors, light fittings, and ventilation grilles. Light fittings can be spot, modular, surface-mounted, or recessed. The ventilation grilles are the same size as the panels and are installed in place of one of them.
Armstrong ceiling installation diagram: basic elements

The installation diagram for the suspended structure is described in detail in the manufacturer's accompanying materials. Primary attention should be paid to the assembly of the frame, which determines the integrity of the structure and the accuracy of the slab installation. It is important to develop a customized ceiling installation diagram in advance, taking into account the basic parameters of the room and other installation details. The drawings precisely indicate the locations of the lighting fixture profiles, fasteners, and utility lines. The following are mandatory elements of the installation diagram:
- perimeter markings – indicating the corner of the wall bracket with its fixing points;
- locations of the load-bearing profiles, ensuring a 120 cm spacing for the profiles when installed parallel;
- attachment points for the crossbars to the load-bearing profiles;
- attachment points for spring hangers, at a rate of 3-4 per profile;
- installation points for the light fittings.
For potentially heavy ceiling loads, the diagram is developed using enhanced parameters rather than standard ones.
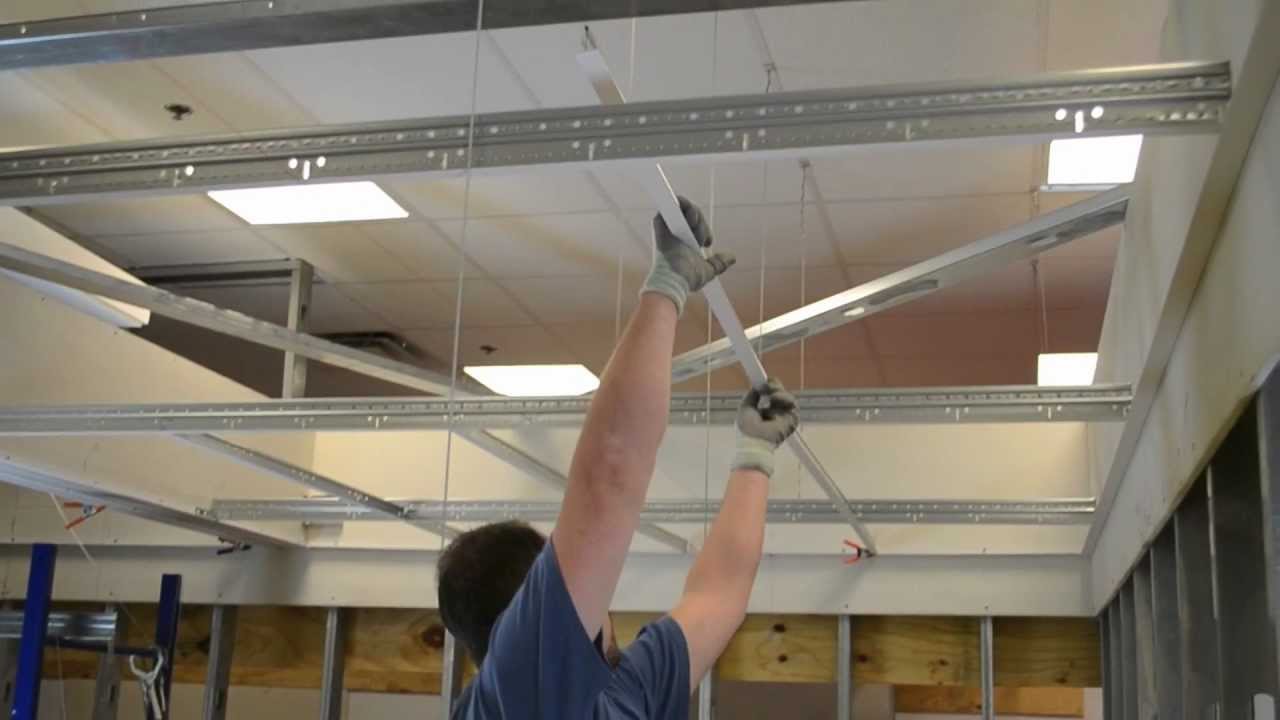
How to install panels: step-by-step instructions for installing Armstrong ceilings
Installation work should begin only after all utilities have been installed. Supporting profiles must be installed with extreme precision, without any errors. Independent hangers must be installed at the light fixture mounting points on the sheathing.
The slabs are installed only after construction and repair work is completed to prevent debris and dust from getting in. They should be installed wearing gloves only to prevent fingerprints from being left on the surface.
Next, the lighting is connected. An inspection hatch is installed to allow access to the cables. Air conditioners, heavy lamps, and other equipment are suspended on separate hangers.
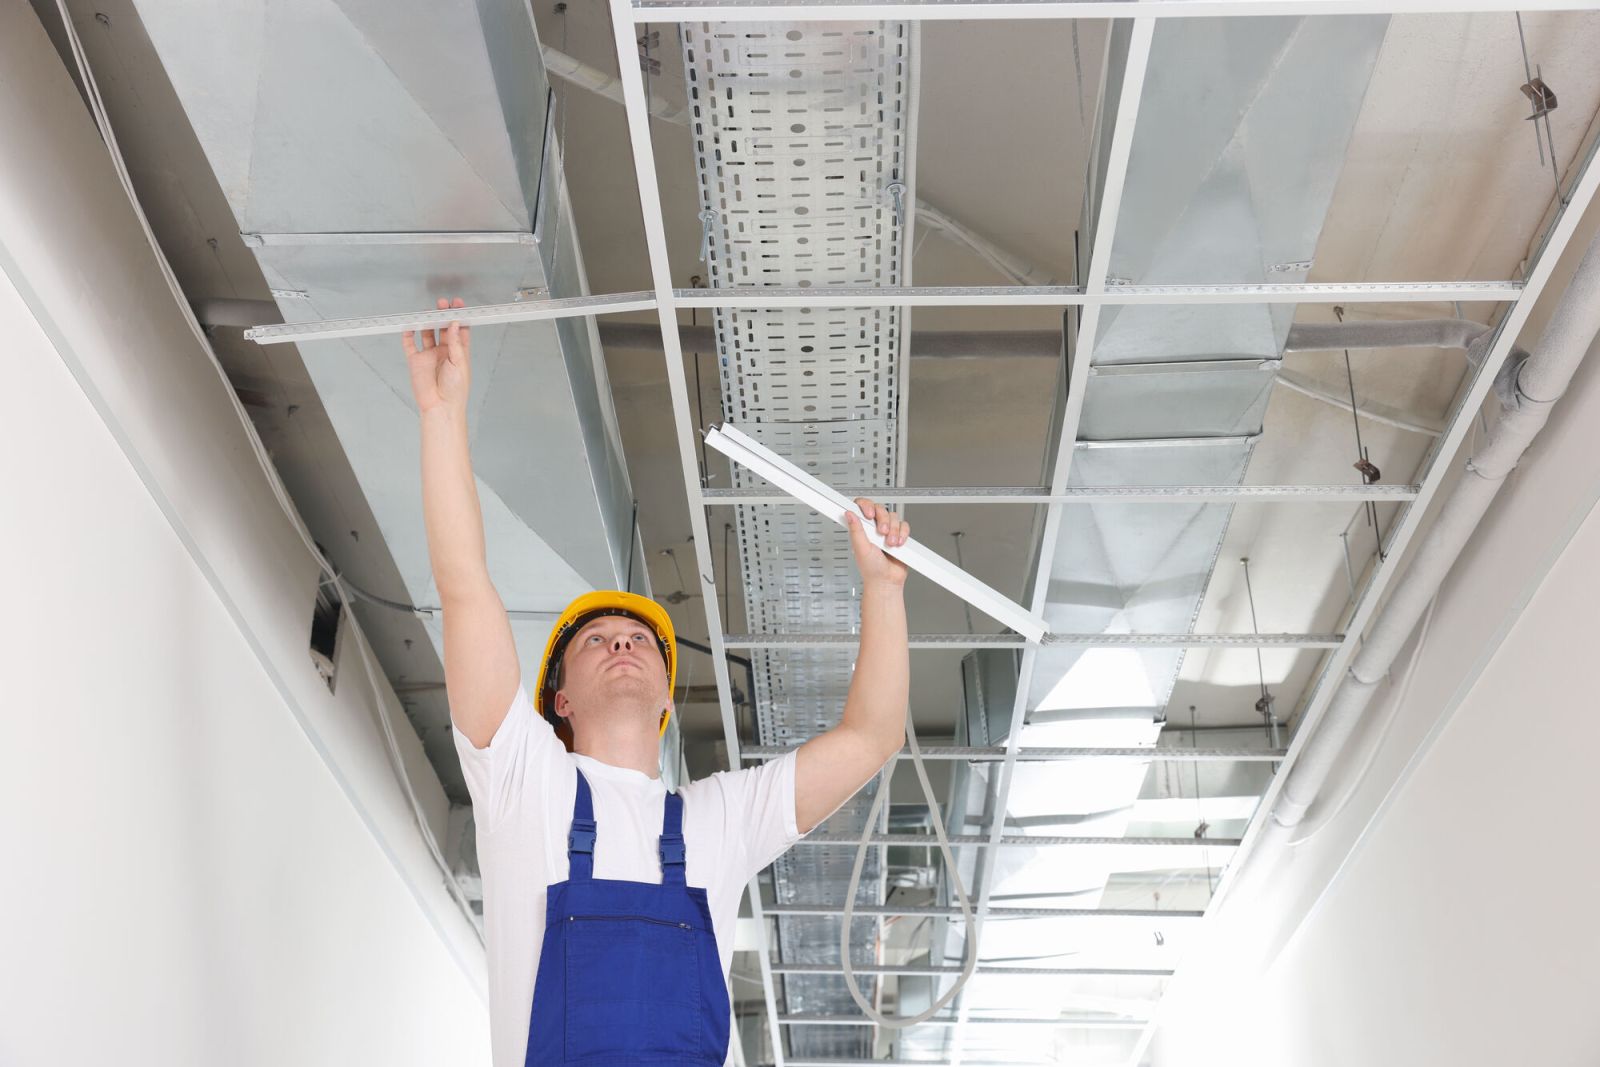
Armstrong Ceiling Installation Technology: What to Look for
Installing Armstrong ceilings is a suitable method for concealing renovation imperfections. Before installation, cables must be laid and the surface to be waterproofed. The general steps for installing the ceiling are as follows:
- Calculations based on room measurements and drawings are prepared, followed by cutting the slabs;
- Marking the level – marking the intersection lines and attachment points of the supporting profile;
- Installing the guides and aligning the frame using a laser level – fixing them to the wall at intervals of 30 cm;
- Installing hangers using dowel nails – holes are drilled in the ceiling joists, with the hanger spacing being one element per 1.5 m² of ceiling;
- Installing the crossbars and supporting profiles, installing auxiliary elements, and checking the diagonals.
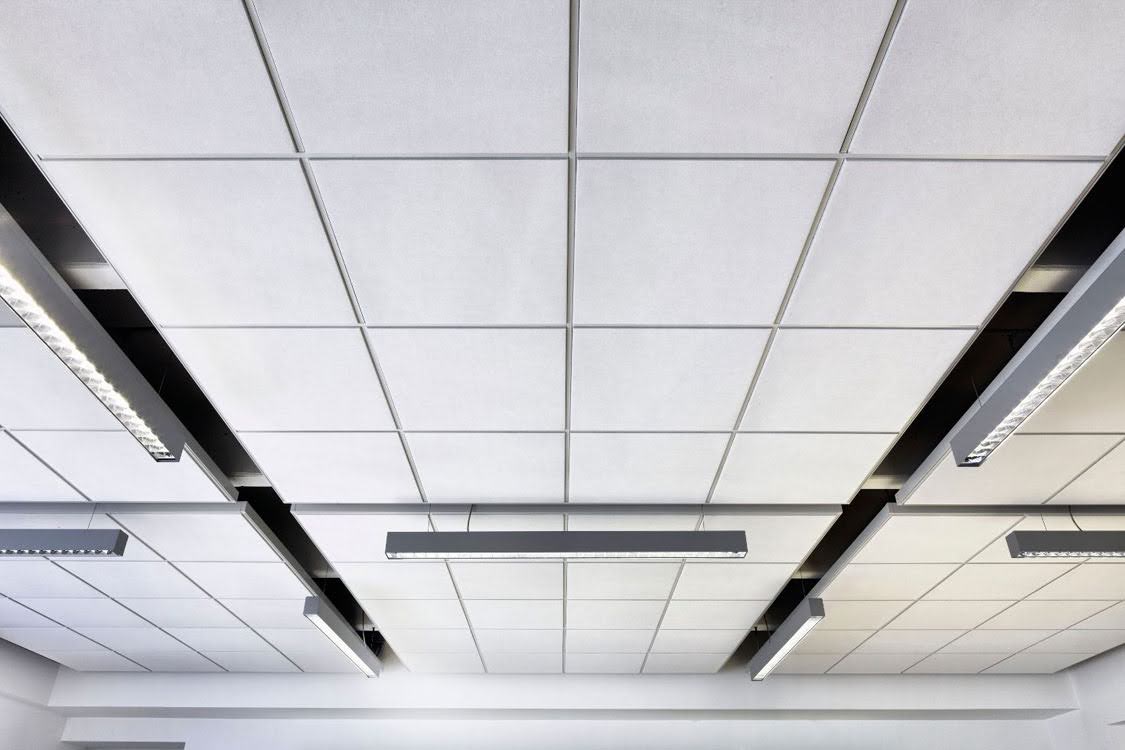
Next, install 600x600 light fixtures and fill the frame with slabs. Laying the slabs should begin from the center of the ceiling, fastening them around the perimeter.